

Green screen technology has become a staple of modern video production, powering everything from blockbuster films to YouTube tutorials and corporate presentations. But how does it actually work? At its core, the process relies on chroma keying—a technique that identifies a specific color (usually bright green) and makes it transparent so you can replace it with any background you choose.
Understanding how green screen technology works gives you the power to create professional-looking videos without a Hollywood budget. In this article, we’ll break down the science behind chroma keying, the gear you need, and practical tips for getting a clean, convincing result every time.
Introduction
Green screen technology, also known as chroma key compositing, is one of the most widely used tools in modern video production. From blockbuster films and nightly newscasts to YouTube tutorials and corporate webinars, the technique lets creators place subjects in virtually any environment without leaving the studio. This article explores How Green Screen Technology Works in Modern Video Production with clear, practical guidance, so you can apply the same principles to your own projects.
At its core, green screen work is about separation: isolating a subject from a controlled background so that background can be replaced with something else. Understanding the fundamentals of How Green Screen Technology Works in Modern Video Production helps you make informed decisions about lighting, cameras, software, and set design. Whether you are shooting a family video or a commercial spot, the same physics and editing logic apply.
Reliable information and consistent habits lead to better long-term outcomes. A single poorly lit shot can undermine an entire production, while a repeatable setup can save hours in post-production. The sections below break the process into manageable parts, from key concepts to a step-by-step workflow.
Key Concepts
Before you hang a green fabric or open editing software, it helps to understand the vocabulary and the optical principles at work.
- Chroma key: The digital process of selecting a specific color range (usually green or blue) and making it transparent so another image can show through.
- Luminance vs. chrominance: Luminance is brightness; chrominance is color information. Keying software separates these, which is why even lighting matters so much.
- Spill: Green light reflecting off the screen onto your subject’s skin, hair, or clothing. Left uncorrected, spill creates a greenish halo.
- Garbage matte: A rough mask drawn around the subject to remove unwanted objects like light stands or boom poles before fine keying.
- Holdout matte: A mask that protects part of the subject from being removed, useful for transparent objects or fine details.
Green is the default because digital camera sensors are most sensitive to green light, and human skin tones contain very little green. That combination makes it easier for software to separate the subject from the background. Blue screens remain useful when the subject wears green clothing or when shooting on film.
Deep Dive
The modern green screen workflow has three phases: capture, keying, and compositing. Each phase has its own failure points, and problems in one phase cannot always be fixed in another.
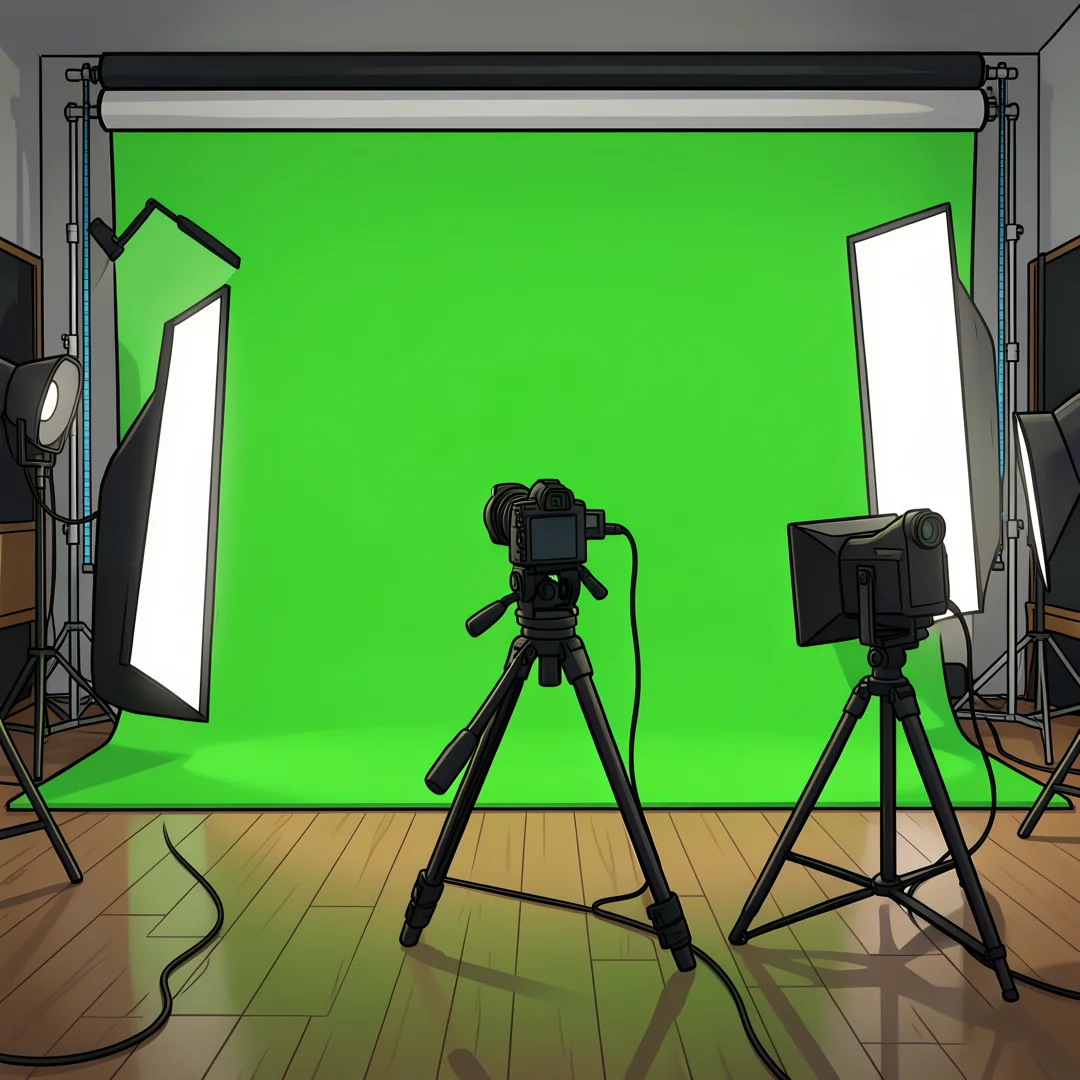
During capture, the goal is a flat, evenly lit background with no shadows or hot spots. The subject should stand at least three to six feet from the screen to reduce spill. Lighting should be separated into two jobs: lighting the screen and lighting the subject. Two or four soft lights aimed at the screen from opposite sides create even coverage. The subject is then lit independently with a key light, fill light, and possibly a backlight.
Camera settings matter as much as lighting. Shoot with a low ISO to reduce noise, because noisy edges are harder to key. Use a sharp lens and avoid heavy compression if possible. A shallow depth of field can blur the screen behind the subject, which actually helps if the blur is smooth, but it can also soften the subject’s edges and make keying harder.
In the keying phase, software analyzes the green pixels and generates an alpha channel. Most editors and compositors offer controls for tolerance, edge feather, and spill suppression. The goal is a clean matte: no holes in the subject and no green fringes around the edges. Garbage mattes and holdout mattes handle the exceptions that automatic keying cannot.
Compositing is where the new background is added. The background should match the subject’s perspective, lighting direction, color temperature, and motion. If the subject was lit from the left, the background should suggest a light source from the left. Adding a subtle shadow or contact shadow under the subject sells the illusion.
Modern tools have made this process faster. Real-time keyers in cameras and software like OBS, Wirecast, and hardware switchers let creators key live. AI-assisted tools can now handle difficult edges like hair and motion blur, but they still rely on good source footage. No algorithm can fully rescue a badly lit shot.
Best Practices
Consistent habits separate reliable results from frustrating experiments. Use the following guidelines as a checklist for every shoot.
- Iron or steam the screen: Wrinkles create shadows that break the key. Stretch fabric tightly on a frame.
- Light the screen separately: Aim for even exposure across the entire surface. Use a waveform monitor or histogram to check.
- Keep the subject far from the screen: Distance reduces spill and softens shadows.
- Wardrobe matters: Avoid green, yellow-green, and reflective fabrics. Avoid fine patterns that can confuse edge detection.
- Lock your camera settings: Auto white balance and auto exposure can shift mid-shot and ruin a key.
- Shoot a clean plate: Record a few seconds of the empty screen. Editors can use it to fill gaps.
- Monitor in real time: If possible, view the keyed composite while shooting to catch problems early.
- Back up your footage: Keep original camera files before any keying or color correction.
In post-production, zoom to 200% or more when checking edges. A matte that looks good at full frame may show jagged edges when enlarged. Apply light denoising before keying if the footage is noisy, but avoid over-processing, which can soften details.
Step-by-Step Guide
Step 1: Understand the fundamentals
Read about chroma keying, watch tutorials, and study how professional productions light and shoot their screens. Learn why green is used, how spill occurs, and what makes a clean matte. This foundation prevents guesswork later.

Step 2: Assess your starting point
Look at your current gear, space, and software. Do you have enough room to place the subject six feet from a screen? Can your camera shoot at a low ISO without noise? Do you have editing software with keying controls? Write down your limitations and strengths.

Step 3: Set clear goals
Decide what you want to achieve. A simple talking-head video needs less precision than a complex action scene. Define your target quality, deadline, and budget. Clear goals keep you from over-investing in tools you do not need.
Step 4: Gather necessary resources
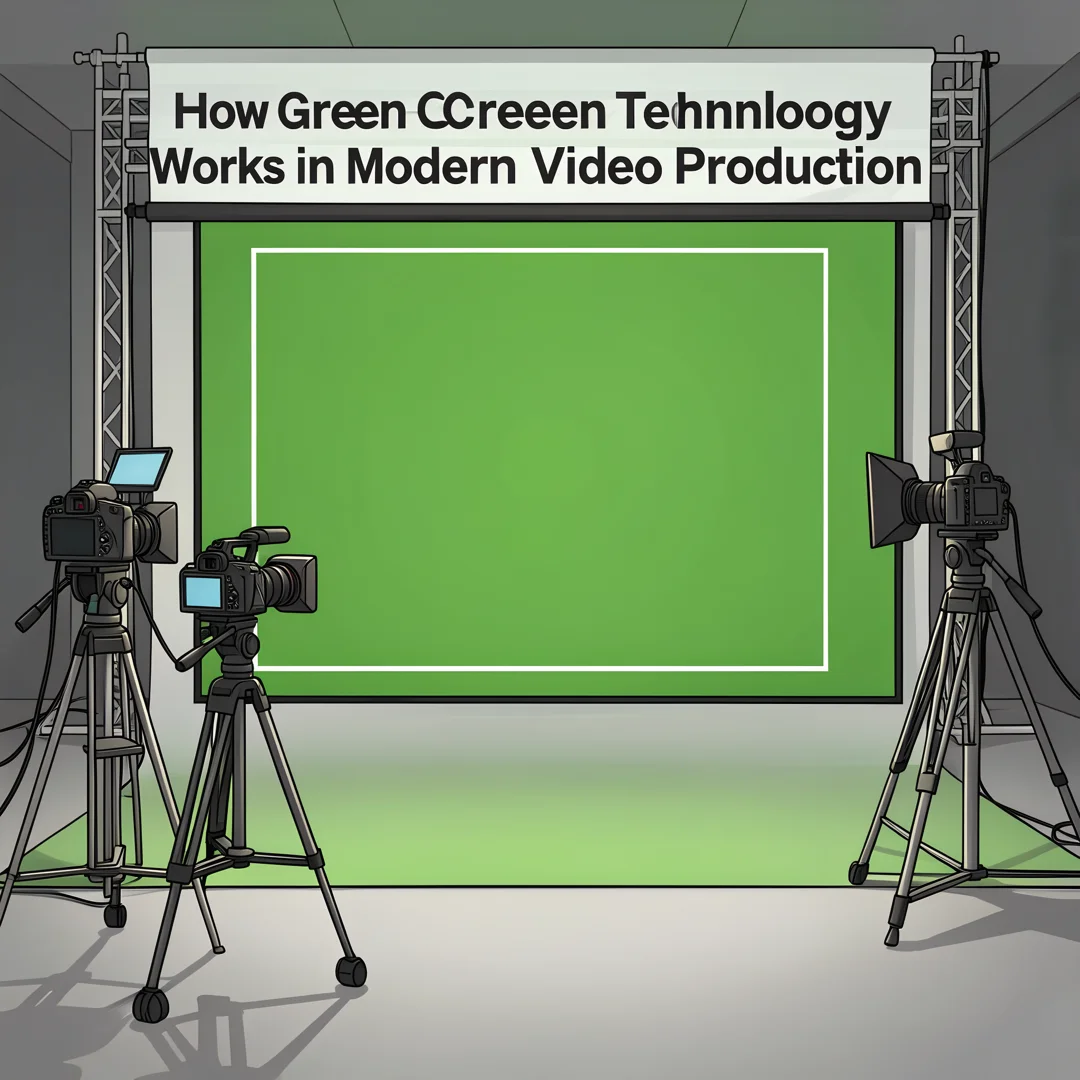
Acquire or rent a green screen, two to four soft lights, stands, clamps, and a camera that can shoot manual exposure. Choose editing software with a chroma key filter, such as DaVinci Resolve, Adobe Premiere Pro, Final Cut Pro, or OBS for live work. Test everything before the shoot.
Step 5: Apply the core methods
Set up the screen, light it evenly, position the subject, and shoot a test clip. Key the test clip in your software, adjust tolerance and spill suppression, and add a background. Iterate until the edges are clean. Then shoot your final footage using the same setup.
FAQ
What should I know about How Green Screen Technology Works in Modern Video Production?
You should know that successful green screen work depends more on capture than on editing. Even lighting, distance between subject and screen, manual camera settings, and spill control solve most problems before you open your editing software. Keying tools are powerful, but they cannot fully fix a poorly lit or noisy shot.
Who is this guide for?
This guide is for anyone who wants a practical understanding of green screen production: independent filmmakers, content creators, corporate video teams, educators, and hobbyists. It assumes no prior compositing experience but provides enough detail for intermediate users to improve their workflow.
Conclusion
Green screen technology works by separating a subject from a colored background and replacing that background with a new image. The process relies on even lighting, sufficient distance, controlled camera settings, and careful keying. By following the step-by-step approach and best practices above, you can produce clean, believable composites. Reliable information and consistent habits lead to better long-term outcomes, whether you are shooting once a year or every week.
You now have a solid foundation for How Green Screen Technology Works in Modern Video Production. Apply the best practices above and revisit this guide as your needs evolve.