

Have you ever watched a fast-moving scene in a movie or video and noticed it looked jerky or blurry? That’s where frame interpolation comes in. This clever technology inserts new frames between existing ones to make motion appear smoother and more lifelike on your screen.
In this article, we’ll explain what frame interpolation is, how it works, and the real benefits it brings to your viewing experience. Whether you’re a casual streamer or a video enthusiast, you’ll learn how to make the most of this feature and avoid its common pitfalls.
Introduction
Frame interpolation is a video processing technique that generates new frames between existing ones to increase a video’s frame rate or smoothness. If you have ever watched a movie on a modern television and noticed that motion looked strangely fluid, almost like a soap opera, you have seen frame interpolation at work. This article explores what frame interpolation is and how it improves videos with clear, practical guidance. Understanding the fundamentals of this technology helps you make informed decisions about when to use it, when to avoid it, and how to get the best results.
Whether you are a casual viewer, a content creator, or someone configuring a home theater, frame interpolation affects how motion appears on screen. Reliable information and consistent habits lead to better long-term outcomes, whether you are adjusting a TV setting or editing a video project. This guide is designed for anyone who wants a straightforward explanation without unnecessary technical jargon.
Key Concepts
To understand frame interpolation, you first need a basic grasp of how video works. Video is a sequence of still images, called frames, displayed rapidly in succession. The number of frames shown per second is the frame rate, measured in frames per second (fps). Common frame rates include 24 fps for cinema, 30 fps for many broadcasts, and 60 fps or higher for sports and gaming content.
Frame interpolation inserts additional frames between the original ones. For example, a 24 fps video can be interpolated to 60 fps by generating 36 new frames for every second of footage. These new frames are not simply duplicates. The software or hardware analyzes the motion between two existing frames and calculates where objects should appear in the intermediate moment.
There are two main approaches:
- Motion-compensated interpolation: This method detects the direction and speed of moving objects and creates new frames that follow that motion. It produces smoother results but can create visual errors, known as artifacts, when motion is complex or objects overlap.
- Blend interpolation: This simpler method cross-fades between two frames, creating a ghosting effect. It is less processing-intensive but generally looks blurrier and less natural.
Frame interpolation is different from frame rate conversion, which may simply repeat or drop frames. Interpolation actively creates new visual information. It is also distinct from motion blur, which is a natural or simulated effect that makes fast motion look smoother by smearing it across a frame.
Deep Dive
How does frame interpolation actually improve videos? The primary benefit is smoother motion. When a camera pans quickly or an object moves across the screen, low frame rates can cause judder, a stuttering effect. Interpolation reduces judder by filling in the gaps between frames, making movement appear more fluid and lifelike.
This improvement is most noticeable in certain types of content. Sports broadcasts, action sequences, and video games benefit greatly because they contain fast, unpredictable motion. Animated content can also look sharper and more dynamic. However, the effect is not universally positive. Many film enthusiasts dislike interpolation because it makes movies look like they were shot on video, stripping away the cinematic quality that 24 fps provides. This phenomenon is often called the soap opera effect.
Beyond smoothness, frame interpolation can also help with slow-motion playback. If you want to slow down a video without it looking choppy, interpolation can generate intermediate frames that make the slow motion appear seamless. This is useful for analyzing sports techniques, scientific recordings, or any situation where you need to examine fast action in detail.
On the technical side, interpolation quality depends on the algorithm and processing power. Modern TVs and dedicated software use sophisticated motion estimation to reduce artifacts. Common artifacts include halos around moving objects, warping at the edges of the frame, and incorrect motion vectors when an object disappears behind another. Higher-quality interpolation minimizes these issues but requires more computational resources.
It is also important to note that interpolation cannot recover information that was never captured. If a video is severely blurry or has a very low frame rate, interpolation may not produce clean results. It works best when the source footage is reasonably clear and the motion is not overly chaotic.
Best Practices
To get the most out of frame interpolation, follow these practical guidelines. They apply whether you are adjusting a television setting or using video editing software.
- Match the interpolation to the content: Use strong interpolation for sports and video games, but consider turning it off or using a low setting for movies and TV dramas to preserve the intended cinematic look.
- Check your display’s settings: Many TVs label interpolation as “Motion Smoothing,” “Auto Motion Plus,” or “TruMotion.” Experiment with different levels or custom settings to find a balance between smoothness and natural appearance.
- Use dedicated software for editing: If you are creating content, tools like Adobe Premiere Pro, DaVinci Resolve, or specialized plugins offer more control over interpolation than TV settings alone.
- Test on a variety of scenes: Before committing to a setting, watch content with slow pans, fast action, and static shots to see how the interpolation handles each.
- Be willing to disable it: If you notice distracting artifacts or dislike the soap opera effect, turn interpolation off. There is no shame in preferring the original frame rate.
Consistent habits matter here. Once you find settings that work for your viewing environment, stick with them and revisit only when you change content types or hardware.
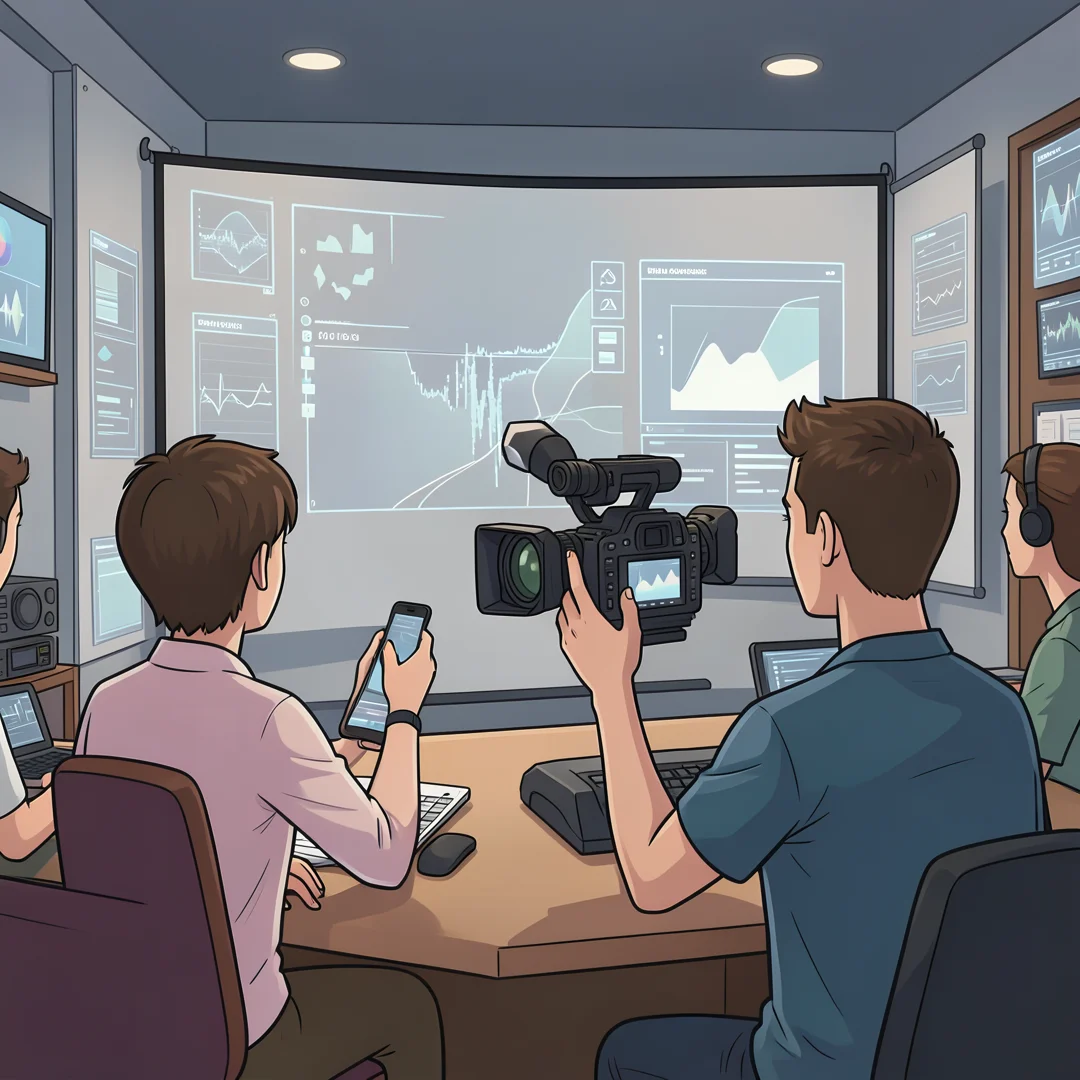
Step 1: Understand the fundamentals
Start by learning the basics of frame rates, motion, and how interpolation generates new frames. Read reputable sources, watch comparison videos, and familiarize yourself with terms like judder and soap opera effect. This foundation will help you evaluate whether interpolation is right for your needs.

Step 2: Assess your starting point
Evaluate your current setup. What frame rate does your source content use? What are your display’s capabilities? Do you notice stuttering or motion blur that bothers you? Identifying your baseline helps you decide how much improvement you need and where to focus your efforts.

Step 3: Set clear goals
Decide what you want to achieve. Are you trying to make sports look smoother? Do you want better slow-motion playback for a project? Or are you simply curious about the feature on your TV? Clear goals will guide your choices and prevent unnecessary adjustments.
Step 4: Gather necessary resources
Collect the tools you need. This might include your TV remote, a video editing program, or sample clips with different motion characteristics. If you are editing, ensure your computer meets the software’s requirements for real-time interpolation.

Step 5: Apply the core methods
Now put interpolation into practice. On a TV, navigate to the motion settings and enable smoothing at a low or medium level. In editing software, apply an interpolation effect to your timeline and render a test clip. Compare the results with the original and adjust as needed. Remember that the best method depends on your content and personal preference.
FAQ
What should I know about What Is Frame Interpolation and How Does It Improve Videos?
Frame interpolation creates new frames between existing ones to increase smoothness. It can make fast motion look better but may introduce artifacts or the soap opera effect. It is most useful for sports, games, and slow-motion analysis, and least desirable for cinematic films. Understanding your content and display settings is key.
Who is this guide for?
This guide is for anyone who wants a clear, practical explanation of frame interpolation. That includes casual viewers curious about their TV settings, content creators looking to improve their videos, and home theater enthusiasts seeking to optimize their experience. No prior technical knowledge is required.
Conclusion
Frame interpolation is a powerful tool that can significantly improve how motion appears in videos when used appropriately. It smooths out judder, enhances slow motion, and makes fast action more enjoyable on compatible displays. However, it is not a one-size-fits-all solution. By understanding the fundamentals, assessing your needs, and applying best practices, you can decide when interpolation helps and when it hurts. Reliable information and consistent habits lead to better long-term outcomes, so experiment thoughtfully and enjoy the results.
You now have a solid foundation for What Is Frame Interpolation and How Does It Improve Videos. Apply the best practices above and revisit this guide as your needs evolve.