
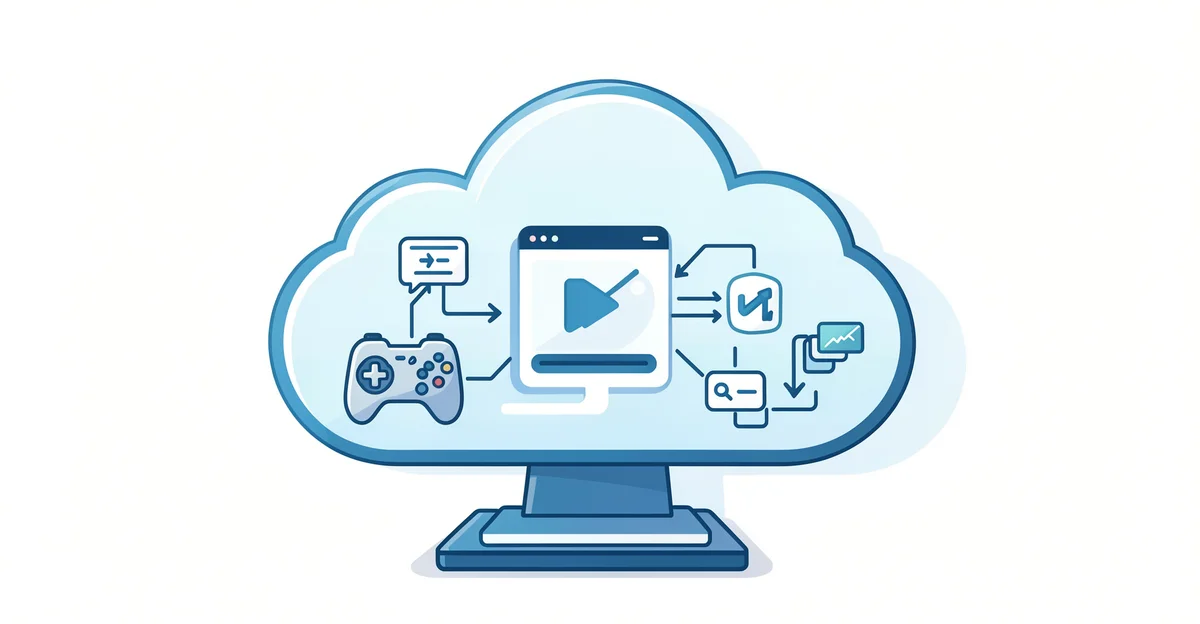
If you’ve ever waited hours for a large video file to export from your laptop, cloud video editing offers a faster way to work. Instead of processing footage on your own machine, cloud video editing runs the heavy lifting on remote servers, so you can cut, color, and export projects from almost any device with an internet connection.
Creators are switching for good reason: real-time collaboration, automatic backups, and no expensive hardware requirements. This guide explains how cloud video editing works, what it does well, and when it makes sense for your workflow.
Introduction
Cloud video editing moves the heavy lifting of cutting, trimming, color grading, and rendering from a local computer to remote servers that you access over the internet. Instead of installing a large application and storing massive media files on your own hard drive, you open a browser or lightweight app, upload or link your footage, and edit on a machine that lives in a data center. This article explores How Cloud Video Editing Works and Why Creators Use It with clear, practical guidance.
The shift matters because video files are large and editing demands serious processing power. A single minute of 4K footage can consume hundreds of megabytes, and applying effects across a timeline can push even expensive laptops to their limits. Cloud editing separates the interface you use from the computing resources that do the work, which changes who can edit video and where they can do it.
Key Concepts
Before choosing a tool or workflow, it helps to understand the building blocks that make cloud editing possible.
- Remote rendering: The cloud server performs timeline rendering, effects processing, and final export. Your device mostly displays video previews and sends edit instructions.
- Streaming proxies: To keep previews smooth, the platform creates lightweight versions of your footage. You edit against these proxies while the full-resolution files stay in the cloud.
- Asset storage: Source clips, audio, graphics, and project files live in cloud storage buckets or media libraries rather than on a local drive.
- Real-time collaboration: Multiple editors can open the same project, leave comments, and see changes without emailing project files back and forth.
- Bandwidth and latency: Your internet connection affects how quickly footage uploads and how responsive the editing interface feels.
Understanding these fundamentals helps you make informed decisions about whether cloud editing fits a given project, and which platform matches your budget and team size.
Deep Dive
How the workflow actually runs
When you start a cloud editing session, the platform authenticates your account and loads your project metadata. Your footage either uploads directly or transfers from a linked storage service. The system generates proxies and thumbnails, then streams a compressed preview to your screen. Every cut, transition, or text overlay you add is recorded as an instruction, not as a modified video file. When you hit export, the server applies all instructions to the original high-resolution media and delivers a finished file.
Why creators choose it
Creators adopt cloud editing for reasons that go beyond novelty. A documentary team spread across three cities can work on the same timeline without shipping hard drives. A solo YouTuber can edit on a lightweight laptop while traveling, because the heavy processing happens elsewhere. Agencies can bring in freelance editors for a single project without buying them expensive workstations.
Cost structure also plays a role. Instead of paying upfront for a powerful machine, creators pay subscription or usage fees that scale with actual editing time. For occasional editors, that can be cheaper than constant hardware upgrades.
Trade-offs to weigh
Cloud editing is not automatically better. Upload times can be long for large projects on slow connections. Some platforms limit format support or customization. Subscription costs accumulate over time, and if a service shuts down, migrating projects can be painful. Reliable information and consistent habits lead to better long-term outcomes, so test a platform with a real project before committing your entire workflow.
Best Practices
Getting good results from cloud video editing depends less on the specific tool and more on how you organize your work.
- Organize before you upload: Rename clips, separate audio and video, and remove unusable takes. Cleaner source material means faster proxies and fewer mistakes.
- Use proxy workflows deliberately: Edit against proxies for speed, but review critical color and audio decisions at full resolution before final export.
- Standardize project settings: Agree on resolution, frame rate, and codec with collaborators at the start to avoid mismatched timelines.
- Maintain version backups: Even cloud platforms can experience outages or accidental deletions. Keep a local or secondary cloud copy of irreplaceable footage.
- Test your connection: Run a speed test before a major upload or live collaboration session, and schedule large transfers for off-peak hours if your provider throttles.
- Document your process: A simple checklist for uploads, exports, and handoffs keeps a team consistent and reduces rework.
Step-by-Step: Getting Started with Cloud Video Editing

Step 1: Understand the fundamentals
Learn how remote rendering, proxies, and cloud storage interact. Watch a short tutorial from your chosen platform and identify where your footage will live, how previews are generated, and what happens during export. This baseline knowledge prevents confusion later.
Step 2: Assess your starting point
Review your current computer, internet upload speed, and the size of typical projects. If you regularly work with 4K multicam footage and have a slow connection, upload times may be a bottleneck. If you edit short social clips on a laptop, cloud editing may fit easily.
Step 3: Set clear goals
Decide what you want from cloud editing: faster collaboration, lower hardware costs, remote access, or all three. Write down a measurable goal, such as reducing project handoff time by half or editing from a travel laptop without external drives.
Step 4: Gather necessary resources
Choose a platform, confirm storage limits, and check supported formats. Prepare a stable internet connection, create a folder structure for uploads, and set up any shared accounts or permissions for collaborators. Budget for subscription or usage fees.
Step 5: Apply the core methods
Upload a test project, build a short timeline using proxies, add a title and a music track, then export at full resolution. Compare the result against your usual local workflow. Note where the cloud process saved time or created friction, then adjust your settings, storage plan, or team habits accordingly.
FAQ
What should I know about How Cloud Video Editing Works and Why Creators Use It?
You should understand that cloud editing separates your editing interface from the computing power and storage that do the work. Your device sends instructions; remote servers render and export. Creators use it for collaboration, remote access, and reduced hardware costs. The main trade-offs are upload time, ongoing subscription fees, and dependence on internet speed. Understanding the fundamentals helps you make informed decisions before committing a project to any platform.
Who is this guide for?
This guide is for anyone evaluating or starting cloud video editing. That includes solo creators, YouTube and social media editors, freelance video professionals, marketing teams, and small agencies. It assumes no advanced technical background, only basic familiarity with editing software and a willingness to test a new workflow with a small project first.
Conclusion
Cloud video editing works by moving rendering, storage, and collaboration into remote servers while you control the timeline through a lightweight interface. It appeals to creators because it enables teamwork across distances, reduces hardware demands, and scales with project size. The approach is not a perfect replacement for every local workflow, but with organized footage, realistic goals, and consistent habits, it can become a reliable part of how you produce video. Start with a small test project, measure the results, and expand from there.
Frequently Asked Questions
What should I know about How Cloud Video Editing Works and Why Creators Use It?
This guide covers the essentials of How Cloud Video Editing Works and Why Creators Use It with practical steps you can apply right away.
Who is this guide for?
Anyone looking for a clear, structured overview without unnecessary complexity.
You now have a solid foundation for How Cloud Video Editing Works and Why Creators Use It. Apply the best practices above and revisit this guide as your needs evolve.