
Automatic video transcription has moved from a niche research project to an everyday tool that powers captions, searchable archives, and accessible content. But what actually happens between uploading a video and receiving an accurate text file? The technology behind automatic video transcription combines speech recognition, machine learning, and audio processing to turn spoken words into readable text in seconds.
Understanding how this process works helps you choose the right tool, improve accuracy, and get more value from your video content. In this article, we break down the key components of automatic video transcription in clear, practical terms—so you can put it to work right away.
Introduction
Automatic video transcription has moved from a niche research project to a mainstream tool that millions of people rely on every day. When you click the “CC” button on a YouTube video, search for a phrase inside a recorded lecture, or read a auto-generated summary of a meeting, you are interacting with a pipeline of technologies that convert spoken audio into written text. This article explores the technology behind automatic video transcription with clear, practical guidance, so you can understand how it works and how to use it effectively.
Whether you are a content creator, a student, a journalist, or a business professional, knowing the fundamentals helps you make informed decisions about which tools to use and when to trust their output. The field combines signal processing, machine learning, and linguistic analysis. Each stage introduces its own strengths and failure modes. By the end, you will have a mental model of the entire process and a set of habits that improve accuracy in real-world conditions.
Key Concepts
To understand automatic transcription, start with four core ideas: audio preprocessing, acoustic modeling, language modeling, and post-processing. These layers work together to turn a waveform into readable text.
- Audio preprocessing: The system first converts sound into a digital signal, often normalizing volume, reducing background noise, and splitting the audio into short frames (typically 10–30 milliseconds). Cleaner audio leads to better results, which is why a decent microphone matters more than most people expect.
- Acoustic modeling: A neural network examines each frame and predicts which speech sounds (phonemes) are likely present. Modern systems use deep learning architectures such as recurrent neural networks, convolutional networks, or transformers. They learn patterns from thousands of hours of labeled speech.
- Language modeling: At the same time, a language model estimates how probable a sequence of words is in a given language. It helps the system choose “recognize speech” over “wreck a nice beach” when the acoustics are ambiguous. Large language models have dramatically improved this step.
- Post-processing: The raw output is refined with punctuation, capitalization, speaker labels, timestamps, and sometimes number formatting. This stage turns a stream of words into a useful transcript.
Another key concept is the difference between batch and real-time transcription. Batch processing can use the entire audio file to make better decisions, while real-time systems must produce words with minimal delay. Real-time transcription is harder because the system cannot look ahead. Understanding this trade-off helps you choose the right tool for live captioning versus archiving recorded video.
Deep Dive
Under the hood, most modern systems rely on an end-to-end neural approach. Instead of separate acoustic and language models connected by a pronunciation dictionary, a single model maps audio features directly to characters or word pieces. This simplifies the pipeline and often improves accuracy, especially for noisy or accented speech.
One popular architecture is the Connectionist Temporal Classification (CTC) model, which handles the alignment problem: the audio and transcript have different lengths, and the model must figure out which audio frames correspond to which letters. Another family uses an attention-based encoder-decoder, similar to translation models. The encoder compresses the audio into a representation, and the decoder generates text one token at a time, attending to relevant parts of the audio.
Training data is the fuel for these models. Companies collect thousands of hours of speech paired with accurate transcripts. The diversity of that data—accents, speaking rates, background conditions, domain-specific vocabulary—determines how well the system performs for your use case. A model trained mostly on clean audiobook recordings may struggle with a noisy factory floor or a fast-paced sports commentary.
Word error rate (WER) is the standard metric. It measures the percentage of words that are incorrect, missing, or extra. A WER of 5% is considered excellent for clean speech, while 15–20% is common for challenging conditions. Keep in mind that WER treats all words equally, but in practice, getting a name or a number wrong can be more costly than missing a filler word. That is why many workflows include a human review step.
Speaker diarization is another important capability. It answers “who spoke when” by clustering voice characteristics. This is essential for meeting transcripts, interviews, and legal recordings. Diarization adds complexity because the system must handle overlapping speech, short interjections, and changes in vocal tone.
Finally, consider the role of custom vocabulary. If your video contains product names, technical jargon, or proper nouns, you can often supply a list of terms to bias the language model. This simple step can reduce errors dramatically without retraining the entire system.
Best Practices
Getting reliable transcripts is not just about picking the best software. Your habits and environment matter just as much. Reliable information and consistent habits lead to better long-term outcomes. Here are practical guidelines.
- Optimize audio at the source: Use a lapel or USB microphone, record in a quiet room, and avoid echo. If you cannot re-record, apply noise reduction before transcription.
- Choose the right model for the job: For clear interviews, a general model works well. For medical, legal, or technical content, look for domain-specific models or add a custom vocabulary list.
- Break long files into chunks: Many tools handle 10–30 minute segments better than multi-hour files. Chunking also makes review easier.
- Always proofread: No automatic system is 100% accurate. Budget time to fix names, numbers, and technical terms. Use the transcript’s search function to find likely errors.
- Use timestamps and speaker labels: These features turn a wall of text into a navigable document. They are especially valuable for video editing and compliance.
- Store and back up transcripts: Keep the original audio and the transcript together. If you need to verify a quote later, you will have both.
- Iterate on feedback: If a tool consistently mishears a specific word, add it to the custom dictionary. Small corrections compound over time.
Following these practices will not eliminate errors, but they will reduce them and make your workflow more predictable.
Step-by-Step Guide

Step 1: Understand the fundamentals
Before you choose a tool, learn the basic pipeline: audio capture, preprocessing, acoustic modeling, language modeling, and post-processing. Recognize that accuracy depends on both the software and the audio quality. This knowledge helps you ask better questions when comparing services.
Step 2: Assess your starting point
Evaluate your current recordings. What microphones are you using? How noisy is the environment? Do you have speakers with heavy accents or overlapping dialogue? Write down your typical scenarios. This assessment reveals whether you need a premium service or a basic free tool.

Step 3: Set clear goals
Define what “good enough” means for your project. Do you need 95% accuracy for legal documentation, or is 85% acceptable for a rough draft? Do you need real-time captions or is batch processing fine? Clear goals prevent over-engineering and wasted spending.
Step 4: Gather necessary resources
Collect the tools and assets you need: a reliable microphone, editing software for noise reduction, a transcription service account, and a custom vocabulary list if applicable. If you plan to review transcripts, set aside time and consider a second monitor or a tablet for easier reading.
Step 5: Apply the core methods
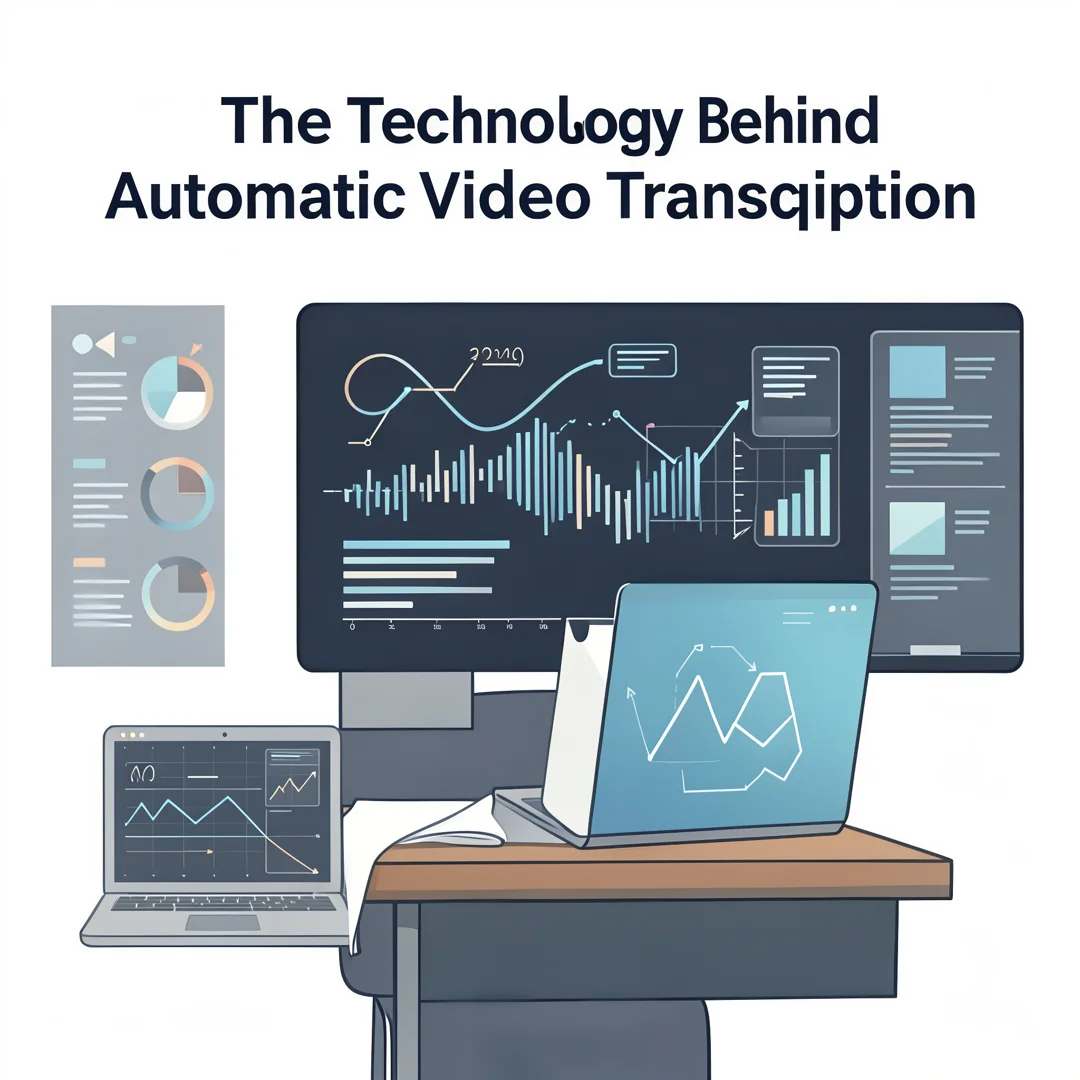
Record with the best audio you can, upload to your chosen service, apply any custom vocabulary, and run the transcription. Then review the output against the audio, correct errors, add speaker labels if needed, and export the final transcript in your preferred format (SRT, VTT, DOCX, or plain text). Repeat this process for each video, and refine your settings based on results.
FAQ
What should I know about The Technology Behind Automatic Video Transcription?
The most important thing to know is that automatic transcription is a multi-stage process, not a single magic step. Accuracy depends on audio quality, the model’s training data, and your post-processing. No system is perfect, so always plan for human review. Also understand the difference between batch and real-time processing, and the value of custom vocabularies for specialized terms.
Who is this guide for?
This guide is for anyone who works with recorded speech: content creators adding captions, journalists transcribing interviews, students processing lectures, business teams documenting meetings, and accessibility professionals ensuring compliance. If you want to make informed decisions about transcription tools and workflows, this guide is for you.
Conclusion
You now have a solid foundation for The Technology Behind Automatic Video Transcription. Apply the best practices above and revisit this guide as your needs evolve.